The last day of school

Chantel, Stefanie and Wendi came down after school at around 1 to compete the project. We finished around 4.30. :))

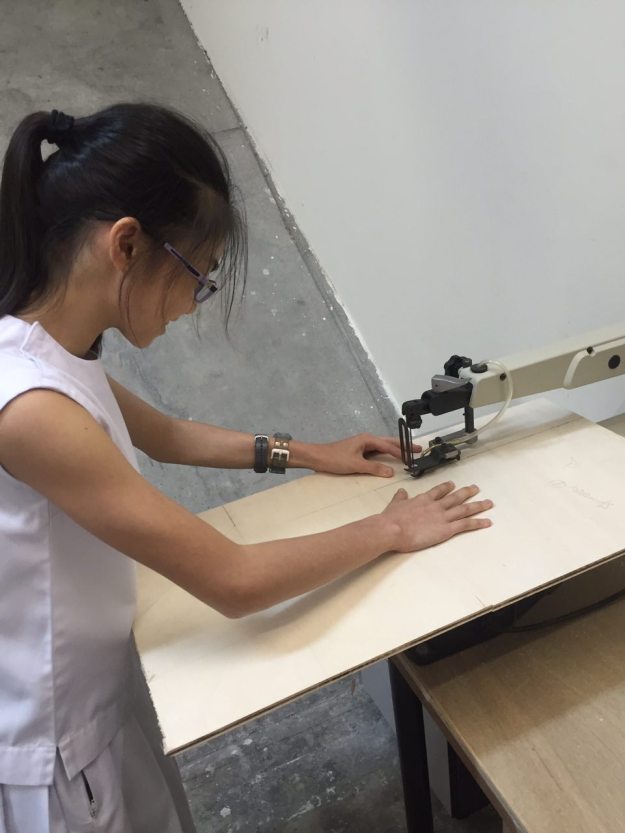
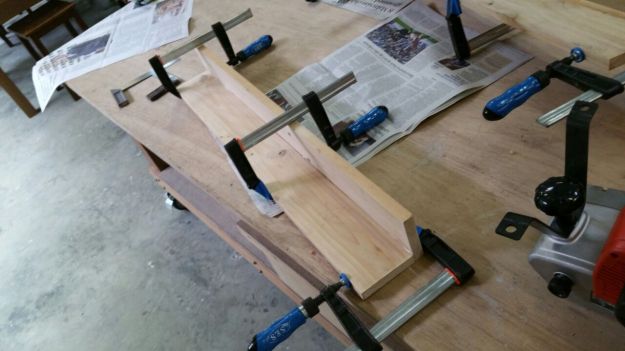
We have finally completed the project! Whoop! We added the support for the table so that it would be more stable. We’ve also attached the shelf to the table. As a lot of nailing had to be done, we helped each other hold the pieces of wood up so we could drill the nails in.

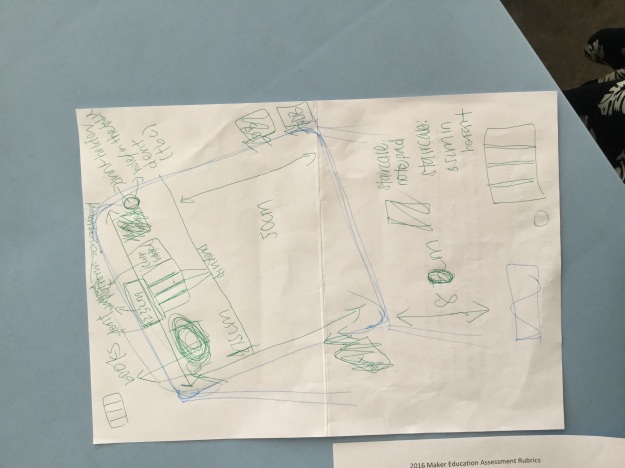
However we did not manage to add on the indents in the table cos erm there was kinda no way according to Mr Wayne other then drolling through another piece of wood before placing it on the current table. We decided not to do that as we were afraid the table would be a bit too heavy. But overall, we are very satisfied with the table and the many skills that we’ve have learnt. Also, I think it was a very great experience working together as we don’t usually work together much in class. As such, even tHougang there was a lot of friction between us in the beginning, we managed to try to work together to complete the project.

31/8

Stefanie, Wendi and Bernice came down today to try to complete the project.

We have got the table up and standing, however, we realised that the table was a bit shaky. As such, Mr Wayne had suggested we add a few more wood pieces along the bottom of the table so that it would be more stable. We will be continuing this tomorrow.

What we did for the table today:

Bernice and Stefanie used the electric drill to nail the table legs to the table today. It was extremely frustrating because the angel at which we had to drill at was very awkward and the clamp was constantly getting in the way.

Stefanie has cut the big backing for the table today. As far as she knows, we have all the wood pieces and we just need to attach all of them together tomorrow.

We’ve also completed the dustbin today! We’ve managed to hook the dustbin onto the table, even though its quite crude looking.

What we need to do tomorrow:

  • attach wood pieces together to create the shelf
  • put the wood filler in the holes of the table so there’s no holes
  • add wood pieces to bottom of the table legs so that it’ll be more stable.

22/8


22/8 

Today, we sanded the wood for the dustbin and glued it together with wood glue.

We faced some difficulties due to the errors we made the previous week. The dustbin could not be joint up perfectly and due to the lack of time, we decided to fill up the gaps with glue instead.

From this event, we learnt that that accuracy is very important to ensure that everything fits into place in the end, so we need to be very detailed.

*Bernice went home early without valid reason and she only helped with assembling the pieces

Click on photo for captions

Big backing measurement:

60×124.7cm

Next Session (29/8)

Last session 😿

Finish up everything and assemble the pieces together to make the final product.

15/8

Today, we discussed on how to better support the table as we planned to add another shelf above it. We decided to add a backing to the table. We learnt many new skills today, such as using the pliers to get the nails out and how to use the jigsaw. We also measured and cut the wood for the dustbin that will be hanging from the side of the table (mainly for eraser dust/wrappers) for more convenience.

Measurements of the dustbin is 20cm x 15cm x 10cm

*Bernice left early today with no valid reason. She only did 1/2 of the measurements of the dustbin.

(Click on photos for caption)

Next lesson (22/8)

We are planning to carve out the details and attach the backing and other necessary details to the table next lesson 🙂


Work in Progress

image

Stef planning the details on the table top

image

Stef using the jigsaw to cut the wood 

image

Bernice using the drill (with the help of Mr Wayne 🙂 

image

Chantel and Wendi gluing the planks

From this week’s session (1/8)

We used some of the common tools in our table making such as clamps and a drill. We sanded and cut the planks for the legs last week, and we first glued them together with wood glue and then used clamps to clamp them down. After that, we used the drill to drill the nails in the wood to connect them together. (Tip we learn from Mr Shone: Hammer the nail in first a little to make it easier to drill later)

Plan for next session (15/8)

Finish the details on the table top (cutting and sawing) and attach the legs to the table

Also plan how to add the shelf and backing of the table 🙂


Table plan

This table consists of two levels. One display case on one level and another level for studying. This is the first level. The second level does not require much planning as it is more for users to display their stuff. Also, “staircase” refers to the two pieces of wood connecting the first level to the second. image Continue reading

Prototype 0.5

With the first prototype, Prototype 0.5, we will be able to accurately measure and implement the correct measurements for our Self Balancing Scooter. This Prototype will be made purely of wood, with no mechanisms, and will be on a smaller scale. This smaller prototype will be able to efficient in allowing us to measure without much wastage. We have decided that the height where the seat will be situated from the platform will be 18cm, the height where the handle will be situated from the platform will be 31.5cm, and the wheel will have a diameter of 12cm. With this prototype, we will be able to confirm the important lengths needed for the building of our Self Balancing Scooter